portfolio


grooming


Grooming process


1st Step
For human characters, I received a 3D model, a hair proxy, and sometimes concept art or references for the desired style.
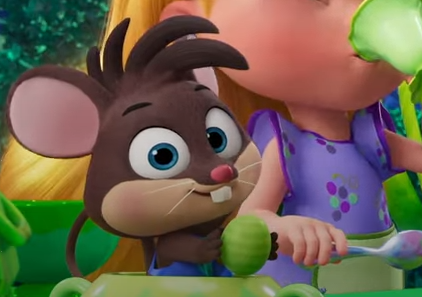
For creatures, I received the base model and reference images.


2nd Step
I began by planning the hair breakdown, sketching hair directions over the 3D model to outline the flow. Then I identified scalp areas, built hair tubes, and generated guides to create the hair in Ornatrix.

3rd Step
After creating the groom guides and scalps, I organized them into groups to ensure proper functionality and avoid intersections. I also resampled curves, applied UVs, used consistent naming conventions, and cleaned the scene by deleting history and freezing transformations.

4rth Step
Once everything was prepared, I built the groom system in Ornatrix, adding all necessary layers to achieve the desired texture and look.
5th Step
After completing the groom, I created the hair shader. In some cases, I tested different shader setups to match unique character styles—for example, using a 3D projection to make one character’s hair appear to sparkle.

personal projects


Get in Touch!
I would love to connect with you! Reach out for inquiries, collaborations, or to discuss opportunities.
